


Closed for Thanksgiving
Thu, Nov 26 to Sat, Nov 28
Reopening Monday, Nov 30. Online quote requests are processed then.

Blog
How to Cut Baseboard Corners: Cope Inside, Miter Outside

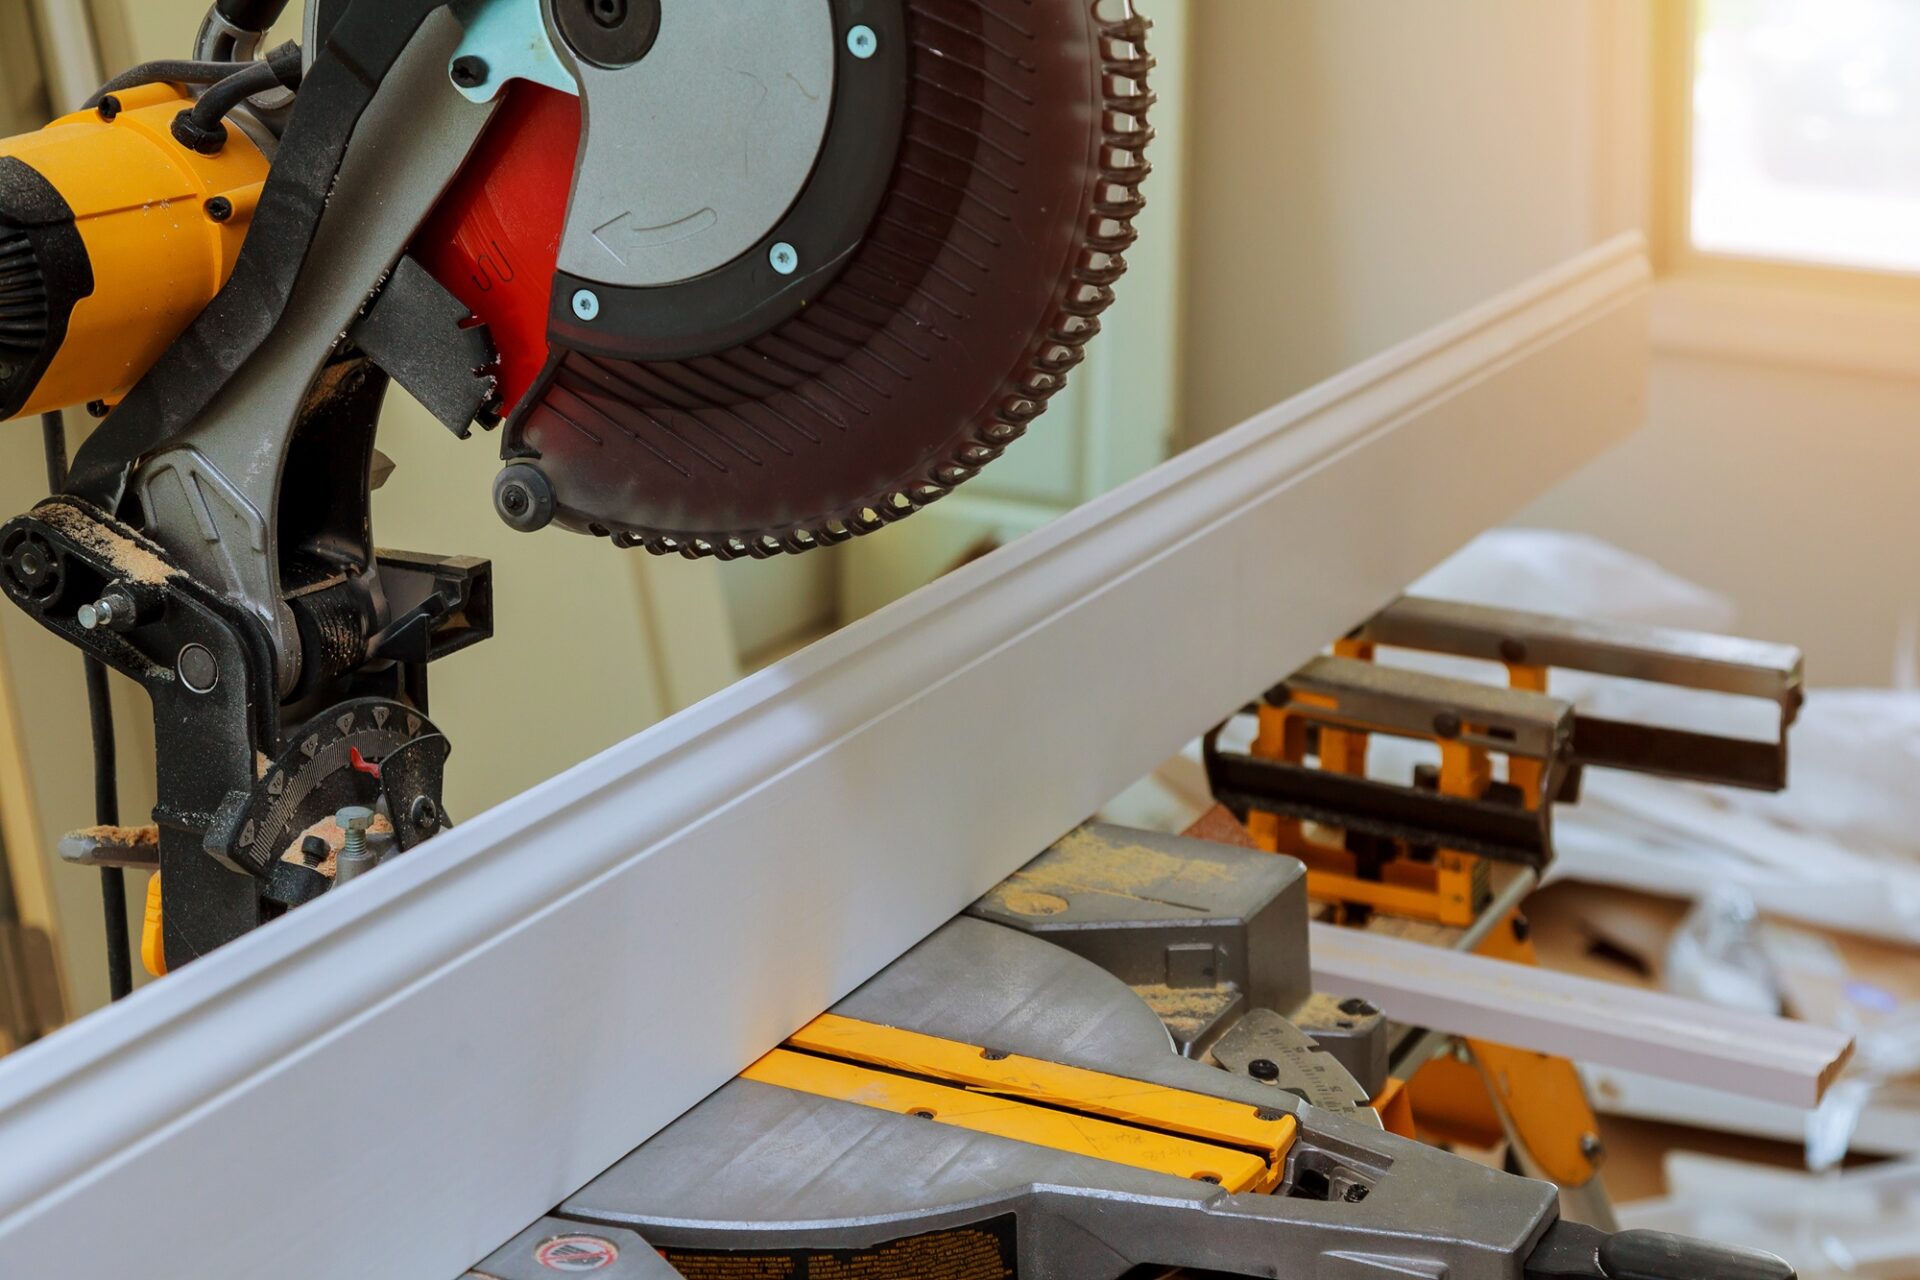
To cut baseboard corners, cope the inside corners and miter the outside ones. For a square 90 degree corner, set the miter saw to 45 degrees. On inside corners, run the first board straight into the corner, then cut the second board at 45 degrees and follow the profile with a coping saw so it fits over the first board. On outside corners, cut both boards at 45 degrees, glue the joint and pin it.
Corners are where baseboard looks professional or homemade. Long straight runs are easy; the joints at each corner are what people notice. The good news is that two methods cover almost every room: a coped joint for inside corners and a mitered joint for outside corners. This guide explains both, shows how to find the right saw angle when your walls are not square, and lists the baseboard profiles that are easiest to work with. If you are planning the whole job, our guide to trim installation order shows where baseboard fits in.
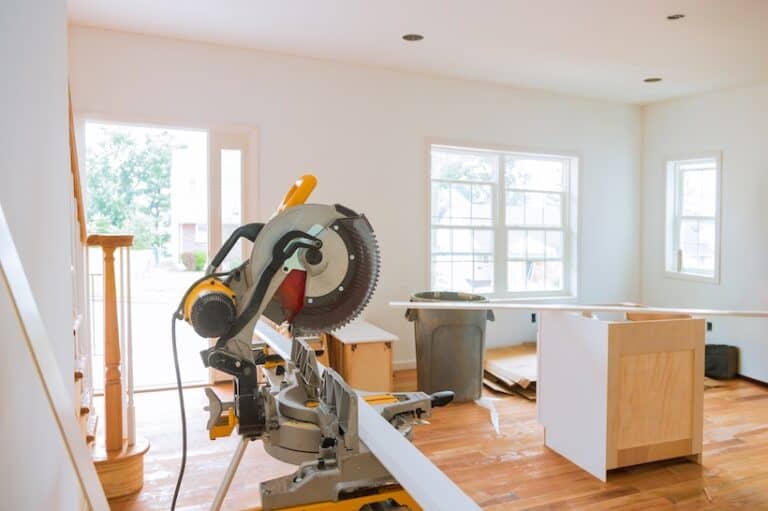
Inside corners vs outside corners: which cut goes where
An inside corner is where two walls meet and point away from you, like the corners of a room. An outside corner points toward you, like the end of a wall or the edge of a chimney breast. Each one gets a different joint.
| Corner | Best joint | Why |
|---|---|---|
| Inside corner | Coped joint | Stays tight when walls are out of square and when the wood moves with the seasons |
| Outside corner | Mitered joint, glued and pinned | Shows the profile wrapping around the corner with no end grain visible |
| Inside corner, flat square-edge baseboard | Butt joint | There is no profile to cope, so the second board simply butts into the first |
| Rounded (bullnose) corner | Short angled pieces | Two 22 1/2 degree cuts, or a short middle piece, follow the curve of the drywall |
For rounded drywall corners, see our step-by-step guide to baseboard for rounded corners.
Tools you need
- A miter saw, or a miter box and handsaw for small jobs
- A coping saw with a fine blade, about 20 teeth per inch
- A tape measure, a sharp pencil and a combination square
- An angle finder or sliding bevel, for walls that are not square
- A half-round file or rasp, and sandpaper
- Wood glue, a pin nailer or brad nailer, and paintable caulk
If you do not have a miter saw, a miter box works for most baseboard up to about 3 1/2 inches tall. Taller boards are easier with a power saw.
How to cope an inside baseboard corner
A coped joint looks like a miter from the front, but only one board is cut to shape. The other runs straight into the corner, so if the walls are slightly out of square, or the boards shrink a little in dry weather, the joint does not open up.
- Install the first board square. Cut it straight at 90 degrees, run it tight into the corner and nail it to the wall.
- Cut a 45 degree inside miter on the second board. Cut it as if you were mitering an inside corner, with the long point at the back of the board. The cut exposes the outline of the profile along the front edge.
- Mark the profile. Run the side of a pencil along the front edge of the cut so the outline is easy to follow.
- Cope along the line. With the coping saw, cut along the outline, tilting the blade back about 30 degrees so you remove wood from behind the face. This back-cut lets only the thin front edge touch the first board.
- Clean up and test. Use a file or sandpaper to smooth the curve, then hold the board in place. Shave the high spots until the front edge sits tight along the whole profile.
- Fit and nail. Cut the other end to length, press the coped end into the corner and nail the board to the wall.
Work the coped end before you cut the board to length. If the cope goes wrong, you can cut it off and try again without losing the piece.

When a mitered inside corner is fine
An inside miter is quicker and can work in a new house with straight, square walls and dry, stable trim. In older homes, and on walls with thick corner mud, the two halves of a miter tend to open into a visible gap. If you do miter an inside corner, set the saw a fraction under 45 degrees, around 44 degrees, so the front edges meet first.
How to miter an outside baseboard corner
- Check the corner angle. Hold an angle finder or sliding bevel against both walls. Corners with metal corner bead are often 91 or 92 degrees rather than 90.
- Mark in place. Hold each board against the wall and mark where it passes the corner on the top edge. Marking in place is more accurate than measuring.
- Cut both boards. Set the saw to half the corner angle, 45 degrees for a square corner, and cut so the long point of each miter is on the face of the board.
- Test before nailing. Hold both pieces together. If the joint is open at the front, cut a slightly smaller angle; if it is open at the back, cut a slightly larger one.
- Glue and pin. Put wood glue on both faces of the miter, nail the boards to the wall, then add a pin nail through the corner from each side to hold the joint closed while the glue dries.
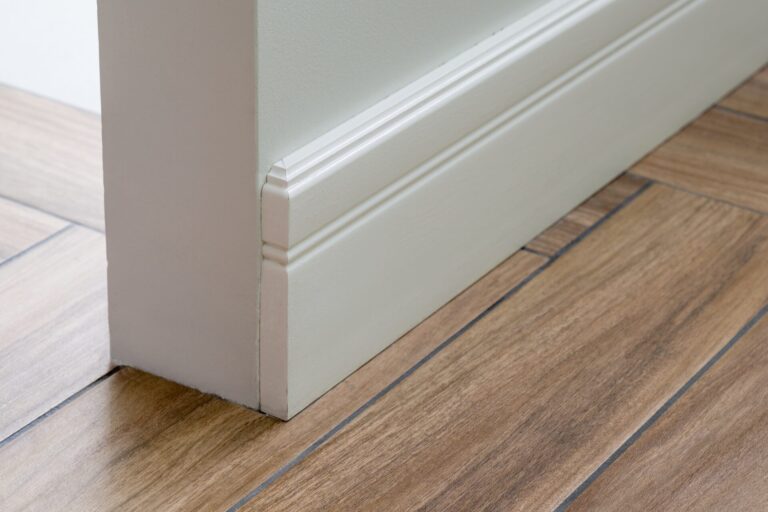
What angle to cut baseboard corners
The saw setting is always half of the angle the baseboard turns at the corner. For a standard square corner the board turns 90 degrees, so each piece is cut at 45 degrees. Use the table for other common corners.
| Wall corner angle | Miter saw setting for each board | Where you find it |
|---|---|---|
| 90 degrees | 45 degrees | Most room corners |
| 92 degrees | 44 degrees | Corners with metal corner bead or thick mud |
| 88 degrees | 46 degrees | Tight inside corners |
| 135 degrees | 22 1/2 degrees | Bay windows, angled hallways |
To work out any other corner, measure the angle between the walls, subtract it from 180 and divide by 2. A 120 degree corner, for example, needs each board cut at 30 degrees.
Shoe moulding and quarter round corners
The same rules apply to the small moulding along the floor. Cope or miter the inside corners and miter the outside corners. Because MC126 Base Shoe, 1/2″ x 3/4″ and MC105 Quarter Round, 3/4″ x 3/4″ are so small, a clean 45 degree miter usually works on inside corners too, and a little caulk closes any hairline gap on painted trim. Where shoe moulding stops at a door casing or cabinet, cut a small return: a short piece mitered at 45 degrees that turns the profile back to the wall instead of leaving a square end. Our shoe moulding guide and our comparison of shoe moulding vs quarter round help you choose between them.
Which baseboard profiles are easiest to cut
The shape of the baseboard decides how much work each corner takes. Every profile below is listed as thickness by height.
| Profile | Size | Inside corners |
|---|---|---|
| MC519 Alviso Base | 5/8″ x 6″ | Square edge, so a simple butt joint works |
| MC510 Round Edge Base | 1/2″ x 5 1/2″ | Only a small rounded top to cope, quick to fit |
| MC321 Bevel Base | 5/8″ x 6″ | A straight bevel, easy to cope or miter |
| MC724 Reversible Base | 5/16″ x 3 1/4″ | Thin and low, cuts cleanly with a miter box |
| MC219 Georgian Base | 9/16″ x 5 1/4″ | A traditional profile, cope for a tight fit |
| MC24 Imperial Base | 5/8″ x 6″ | A detailed top edge, cope for a tight fit |
| MC164 Estates Base | 11/16″ x 5 1/4″ | A traditional profile, cope for a tight fit |
| MC214 Menlo Base | 9/16″ x 7 1/4″ | Tall, so check your saw can cut it standing upright |
If you build up a taller baseboard with a cap on top, such as MC140 Estates Base Cap, cut the corners of the base and the cap separately. The flat base often butts or miters, and only the cap needs coping. Our base cap moulding guide shows how the two pieces go together, and our baseboard style guide helps you choose a profile for your home.
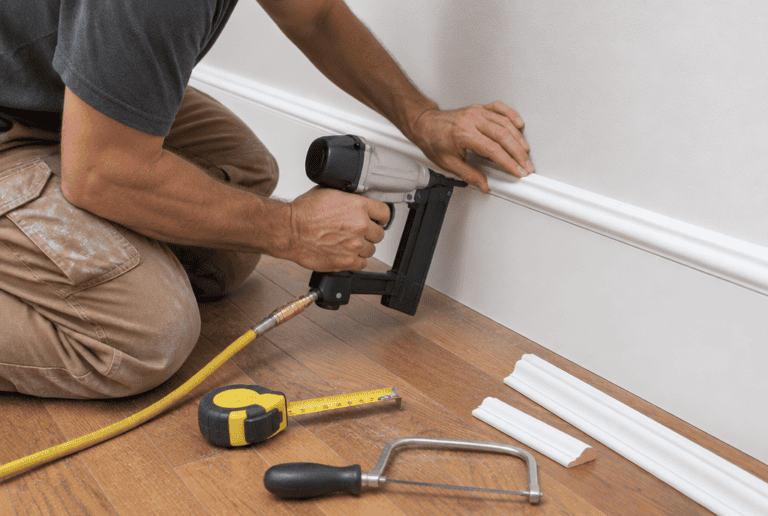
How to fix gaps in baseboard corners
Small gaps are normal, and painted trim is very forgiving. Fill hairline gaps in painted baseboard with paintable caulk and smooth it with a damp finger. For stained wood, use a wood filler or putty that matches the finish, because caulk will show. If a mitered outside corner has opened, a pin nail through the joint from each side often pulls it closed again. A gap of more than about 1/8 inch usually means the angle was wrong, and recutting the piece gives a better result than filling it. Our guide on how to caulk covers technique, and gaps under the baseboard are covered in how to fix gaps between baseboards and floors.
How much extra baseboard to buy for corners
Measure the length of each wall, add the lengths together, subtract door openings and add about 10 percent for corner cuts, test pieces and waste. In a room with many outside corners, such as a hallway with alcoves, add closer to 15 percent. Buying longer boards also means fewer joints along each wall. Our trim calculator works out the total for you, and our guide to baseboard height by room helps you pick the right size.
See baseboard profiles in person. Visit any of our four showrooms in the Bay Area and Sacramento, where 4 inch samples are available, or call us at 925-798-7525, and we will help you choose a profile that suits your rooms. Find your nearest showroom.
Frequently Asked Questions (FAQs)
Cut each board at half the angle the baseboard turns. For a standard 90 degree corner, set the miter saw to 45 degrees. For a 135 degree corner, such as a bay window, cut each board at 22 1/2 degrees. If a corner measures 92 degrees, cut at 44 degrees.
Coped. A coped joint stays tight when the walls are not quite square and when the wood moves with the seasons, while an inside miter tends to open into a gap. A miter can work in a new house with square walls, and flat square-edge baseboard can simply be butted into the corner.
Use a miter box and a fine-tooth handsaw for the 45 degree cuts, and a coping saw for inside corners. This works well for baseboard up to about 3 1/2 inches tall. Taller boards are easier and more accurate with a power miter saw.
Fill small gaps in painted baseboard with paintable caulk, and use a matching wood filler on stained trim. If a mitered outside corner has opened, a pin nail through the joint from each side often closes it. A gap wider than about 1/8 inch usually means the angle was wrong, so recut the piece.
Miter outside corners at 45 degrees, and miter or cope inside corners. Quarter round and base shoe are small enough that a clean 45 degree inside miter usually works. Where the moulding stops at a door casing or cabinet, cut a small mitered return so the profile turns back to the wall.