

Blog
Installing Baseboard Moulding for Rounded Corners Made Simple
Rounded corners are a beautiful architectural touch that can soften the look of any room. They add a subtle sense of flow and elegance, helping your home feel open and welcoming. But when it comes time to install baseboards, those smooth, curved edges can cause frustration. How do you get a straight piece of trim to fit perfectly against a rounded wall?
Thankfully, with the right materials, a bit of patience, and a few pro tips, installing baseboard moulding for rounded corners is easier than you think. Whether you’re upgrading a modern home in Santa Clara, finishing a remodel in South San Francisco, or adding refined detail to a property in Concord or Sacramento, this guide will help you achieve seamless, professional-looking results.
Why Rounded Corners Need Special Attention
Most baseboards are designed for straight walls and sharp corners. Rounded corners, also known as bullnose or radius corners, introduce a gentle curve that doesn’t meet at a defined angle. This creates a challenge: standard 45-degree cuts won’t fit cleanly, leaving gaps or uneven joints.
Baseboard corner molding for rounded walls solves this issue. These specially designed pieces bridge the gap between two straight baseboard sections, following the curve of the wall smoothly. The result is a continuous, polished transition that looks intentional rather than improvised.
Without the right technique, even high-quality baseboards can appear mismatched or uneven around curves. That’s why it’s important to use flexible materials and precise cutting methods to ensure a perfect fit.
Step 1: Choose the Right Type of Baseboard Moulding
When working with rounded corners, not all baseboards behave the same. Some materials bend easily, while others can crack or split.
Here are your best options:
1. Flexible Baseboard Moulding
Flexible moulding (also known as flex trim) is made from rubber, polyurethane, or flexible vinyl. It’s designed to bend gently around curved surfaces without breaking. This makes it ideal for rounded walls, columns, or bay windows.
Flexible baseboard moulding for rounded corners can be painted or stained to match your existing trim. It installs much like traditional baseboards using adhesive and finish nails but it adapts to the wall’s shape effortlessly.
2. MDF or Wood Baseboards with Pre-Made Corner Pieces
If you’re using MDF or wood, you can purchase matching baseboard corner molding sections specifically shaped for bullnose corners. These small, rounded transition pieces connect your straight baseboards on either side.
They come pre-primed and ready to paint, ensuring a smooth visual flow between walls. This is a popular solution for homeowners in Concord and South San Francisco, where modern homes often feature soft, curved architecture.
3. Custom-Made Corner Transitions
For high-end or custom projects, a carpenter can create custom corner transitions by shaping wood to match your wall’s exact radius. This is often done in luxury remodels or when replacing ornate or tall modern baseboards in upscale homes around Sacramento and Santa Clara.
Step 2: Measure and Prepare Your Corners
Before installation, measure the radius of your corner. The most common size is a 3/4-inch radius bullnose corner, but every home can differ slightly.
You’ll need to measure both sides of the corner where your straight baseboards will meet the curved section. Mark where each baseboard will end before it transitions into the rounded molding.
Pro tip: use painter’s tape to outline where each section will go. It helps visualize the spacing and alignment before cutting anything.
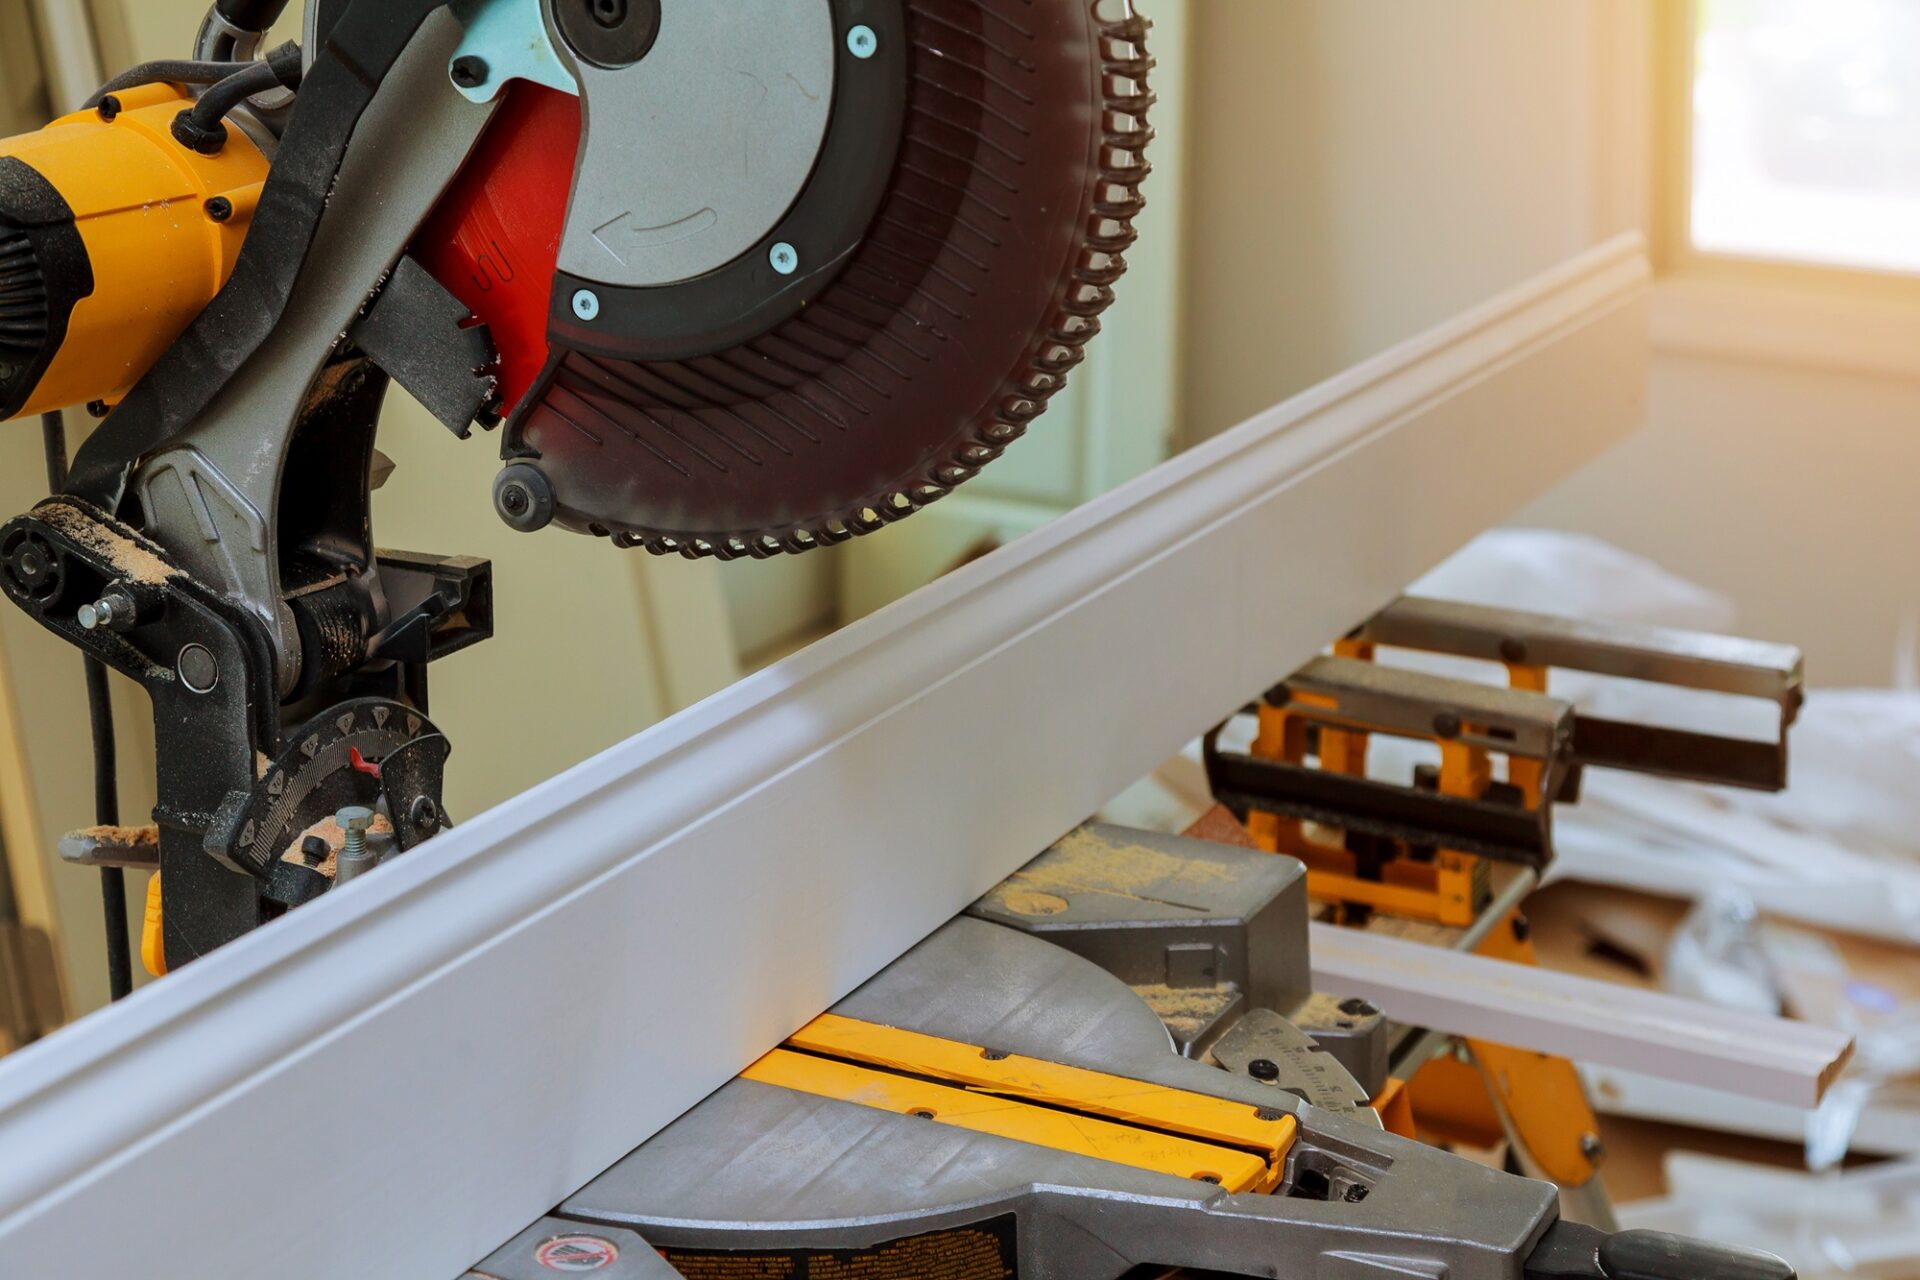
Step 3: Cut Baseboards for a Smooth Fit
When cutting baseboards for rounded corners, precision is key. If you’re using flexible moulding, you won’t need to miter the curve, but you do need clean cuts where the curved and straight pieces meet.
For wood or MDF baseboards with separate corner pieces:
- Use a miter saw set to a 22.5-degree angle.
- Cut both ends of the straight baseboard sections at this angle so they fit neatly against the rounded corner piece.
- Test-fit before gluing or nailing to ensure the joint is tight and even.
If your walls are slightly uneven, a common occurrence in older homes around Concord, use fine-grit sandpaper to smooth the ends for a perfect seam.
Step 4: Install the Corner Molding
Once your cuts are ready, it’s time to install.
- Apply construction adhesive to the back of the baseboard corner molding or flexible trim.
- Press it firmly into place along the curved wall.
- Use small finishing nails or brad nails to secure it while the adhesive sets.
For flexible moulding, you may need to hold the curve in place with painter’s tape until it adheres fully. Wipe off any excess adhesive immediately.
Then, install the straight baseboards leading into the curve. Align them carefully to ensure the transition between the flat and curved sections feels natural and continuous.
Step 5: Fill, Sand, and Finish
After installation, fill any small gaps or nail holes with paintable wood filler or caulk. Once dry, sand the area lightly to smooth out imperfections.
For a professional finish:
- Paint or stain the entire baseboard, including the corner piece, as one continuous unit.
- If you’re matching existing trim, take a sample to your local paint store to get an exact color match.
This finishing step ensures your baseboard moulding for rounded corners looks seamless not pieced together.
Step 6: Modern Finishing Options for a Contemporary Look
Rounded corners naturally soften a space, which works beautifully with modern baseboards and clean architectural styles. To maintain that modern aesthetic, consider:
- Color Matching: Painting your baseboards the same shade as your wall for a minimalist, flowing look.
- Matte Finishes: Satin or matte paint creates a soft, sophisticated appearance.
- Taller Baseboards: Modern homes often use baseboards between 5 and 7 inches high to emphasize vertical lines.
- Neutral Tones: Whites, creams, and light grays complement both modern and transitional interiors.
Homeowners in Santa Clara and South San Francisco often pair rounded corners with sleek, contemporary trims that blend effortlessly into open floor plans and light-filled rooms.
Common Mistakes to Avoid
When installing baseboard moulding for rounded corners, a few small missteps can lead to big headaches. Here’s what to watch for:
- Skipping Measurements: Don’t assume every corner is the same radius. Measure each one.
- Using Rigid Trim: Standard wood baseboards can crack or gap if forced to bend. Use flexible materials or corner pieces.
- Ignoring Wall Variations: Uneven drywall can create gaps. Sand and adjust before final installation.
- Painting Too Early: Always paint after filling and sanding for a flawless surface.
Attention to detail will make the difference between a DIY look and a professional-grade finish.
Why Rounded Corners Deserve the Right Baseboards
Rounded corners are becoming more common in both custom and production homes throughout Sacramento and Concord. They bring a sense of softness and movement that flat walls can’t replicate.
The right baseboard corner molding complements this look by maintaining visual continuity. It prevents sharp breaks in the trim line and adds a touch of craftsmanship to the overall design.
Even in minimalist spaces with modern baseboards, the smooth flow around each corner enhances the architectural beauty of the room. It’s a small detail that makes a big difference.
Professional vs. DIY Installation
Installing baseboards on straight walls is relatively simple for most DIYers, but curved corners require more skill and patience.
If your home in South San Francisco or Sacramento features multiple rounded corners, it may be worth hiring a professional trim carpenter. They can custom-fit mouldings to the exact curvature of your walls, ensuring a flawless finish.
However, if you’re confident with tools and measurements, you can absolutely achieve beautiful results on your own with flexible moulding products and careful prep.
Where to Find Quality Baseboard Moulding for Rounded Corners
If you’re ready to start your project and need high-quality materials, visit The Moulding Company.
With showrooms in Concord, South San Francisco, Santa Clara, and Sacramento, we carry a wide range of baseboard moulding for rounded corners, including flexible options, pre-made corner pieces, and modern baseboards in various profiles and materials.
Our experts can help you choose the right style and material for your home, whether you’re updating a single room or completing a full remodel.
Contractors who take on detailed finish work know the value of having the right materials and dependable supply options. We offer resources and support tailored for professional builders and remodelers.
Final Thoughts
Rounded corners make a home feel soft, seamless, and beautifully designed but they deserve the right finishing touches. With proper planning and the right materials, installing baseboard moulding for rounded corners can be simple and rewarding.
Whether you choose flexible trim, pre-made corner pieces, or custom woodwork, your results will look polished, continuous, and professional.
If you’re in Concord, South San Francisco, Santa Clara, or Sacramento, stop by The Moulding Company to explore our full collection of baseboard corner molding and modern baseboards. You’ll find everything you need to make your curved walls look flawless from every angle.
FAQs
- What is the best type of baseboard moulding for rounded corners?
The best option for baseboard moulding for rounded corners is flexible trim made from polyurethane or rubber-based materials. These bend easily to match the curve of your wall without cracking or warping. For homes with wood or MDF baseboards, you can also use pre-shaped baseboard corner molding pieces that transition smoothly between straight sections, giving a professional, seamless finish.
- Can I install baseboards on rounded corners myself?
Yes. With the right materials and tools, you can install baseboards around rounded corners as a DIY project. Flexible moulding is beginner-friendly and requires minimal cutting, while pre-made corner pieces for wood or MDF baseboards are also easy to work with. If your home in Concord or South San Francisco has multiple curved corners, you may prefer hiring a trim carpenter for a flawless, time-efficient result.
- How do I make sure my baseboard corner molding fits perfectly?
Accurate measurement is key. Start by determining your wall’s corner radius. Most homes use a standard 3/4-inch bullnose corner. Cut your baseboards with a 22.5-degree miter angle on each side to create a snug fit with the curved corner piece. Always test-fit before nailing, especially in older homes in Sacramento or Santa Clara, where walls can be slightly uneven. Use fine sandpaper for small adjustments to get a perfect joint.
- What styles of baseboards look best on rounded corners?
Rounded corners pair beautifully with modern baseboards, which feature clean lines and smooth edges. These styles enhance the gentle curves of your walls without adding visual clutter. However, traditional or craftsman-style mouldings can also work well if the transitions are finished with matching corner pieces. The key is consistency: choose a profile and finish that complements your overall design theme.
- Where can I buy flexible or curved baseboard moulding near me?
You can find flexible moulding and baseboard corner molding at The Moulding Company. We have showrooms in Concord, South San Francisco, Santa Clara, and Sacramento, offering a wide range of materials, from flexible vinyl and polyurethane to wood and MDF. Our team can help you choose the right profile and finish to match your home’s design perfectly.
Ready to start your project?
Visit The Moulding Company to explore flexible and modern baseboard moulding for rounded corners. Our experts are here to help you achieve smooth, seamless results in any room.