

Blog
Can You Paint Moulding?

If you’ve ever looked around your home and felt that something’s missing that the walls and floors look fine, but the room just doesn’t feel “finished” the answer might be in your moulding. Those little details along your ceilings, doors, and floors add structure, warmth, and personality to every space.
And here’s some good news: yes, you can paint moulding, and it can completely transform how your home looks. Whether you’re refreshing old trim, updating your modern baseboards, or giving your MDF crown molding a new lease on life, painting moulding is one of the simplest, most rewarding upgrades you can do.
Let’s explore how, when, and why to paint moulding, and what makes it such a game changer for both contractors and homeowners.
Why Paint Moulding?
There are two big reasons to paint moulding; appearance and protection.
Freshly painted trim instantly brightens a room and ties everything together. Even if you haven’t changed your wall color or flooring, painting the moulding gives the entire space a crisp, clean edge. White paint can make your home feel fresh and airy, while dark tones add depth and contrast.
From a practical standpoint, paint also protects the moulding from wear, fingerprints, and moisture. For instance, MDF crown molding (a popular choice in many California homes) is smooth and paint-ready, but it needs a proper coat to seal the surface and prevent swelling over time.
Whether you’re updating a classic home in Sacramento or finishing a new build in Santa Clara, painting your trim is one of the easiest ways to make every room feel brand new.
Which Types of Moulding Can Be Painted?

The great thing about moulding is that almost all types can be painted. It’s just about choosing the right paint and prep method. Let’s break down a few common examples.
1. Modern Baseboards
If your home has modern baseboards, chances are they’re made of MDF or wood and feature clean, flat lines. Painting them the same color as your walls creates a seamless, contemporary look. Or, if you want to highlight them, paint them a shade lighter or darker for subtle contrast.
Many homeowners in Concord and South San Francisco love pairing white walls with soft gray or beige baseboards for that understated, modern finish.
2. MDF Crown Moulding
MDF crown molding is one of the most paint-friendly materials available. MDF has a smooth surface that absorbs primer and paint evenly, giving you a flawless finish. Just make sure to seal the edges and joints well, MDF can soak up moisture if left unprotected.
For best results, use a high-quality latex paint and a soft-bristle brush to avoid streaks. A semi-gloss finish is ideal since it’s easy to clean and gives your crown moulding a touch of elegance.
3. Chair Rail
A Chair Rail is the moulding that runs horizontally along your wall, usually 32–36 inches from the floor. Originally, it protected walls from furniture scuffs, but today it’s also a beautiful design feature.
Painting your chair rail in a contrasting color can divide your wall visually, adding character and sophistication. For example, white moulding against navy or sage walls gives that timeless, high-end look without overwhelming the space.
4. California Corner
If your home features a California Corner, a wall framing method common in newer builds, painting your trim helps the transitions look smoother and more uniform. Corners can collect dust and imperfections over time, and a fresh coat of paint ties the entire layout together seamlessly.
Whether you’re touching up around windows or connecting moulding along curved edges, attention to corners is key for a professional-looking finish.
5. Backband Trim
Backband trim is often used around doors or windows to give a more substantial, layered appearance. It can be painted in the same color as your casing for a clean look, or in a contrasting shade to add visual interest.
Because backband moulding has more edges and grooves, take your time painting it. Use a small brush for detail work, and don’t overload the paint; multiple thin coats always look better than one thick layer.
Prepping Your Moulding Before Painting
Before you grab a brush, preparation is everything. Skipping this step can lead to uneven texture, peeling paint, or rough edges. Here’s how to do it right.
- Clean Thoroughly: Use a damp cloth to remove dust, dirt, and grease. For old or yellowed trim, a gentle degreaser or mild soap helps restore the surface.
- Fill Gaps and Holes: Use wood filler or caulk to fill any nail holes or gaps between the wall and trim. Smooth it out with a putty knife.
- Lightly Sand: Sanding gives the paint something to grip. A fine-grit sandpaper (220-grit) is perfect for smoothing without damaging the material.
- Wipe Again: Remove all dust from sanding before priming.
- Prime: Always use a primer, especially for MDF or previously stained wood. Primer seals the surface and prevents stains or color bleed-through.
This step-by-step prep ensures your modern baseboards, Chair Rail, or backband trim will have a clean, smooth finish that lasts.
Choosing the Right Paint

Your paint choice depends on both style and practicality.
- Finish: Semi-gloss or satin finishes work best for mouldings. They’re durable, easy to clean, and reflect just enough light to highlight detail.
- Type: Latex paint is ideal for MDF and wood mouldings. It’s fast-drying, low-odor, and easy to touch up later.
- Color: White and off-white remain timeless, but bold trims are making a comeback. Think black, navy, or warm neutrals for modern homes.
If you’re painting MDF crown molding or other high-impact areas like Chair Rails, consider using a high-quality enamel paint. It’s tougher and stands up well to everyday wear.
Painting Tips for the Perfect Finish
- Cut In Carefully: Use painter’s tape to define clean edges where the moulding meets the wall or ceiling.
- Work in Sections: Long, steady strokes help avoid brush marks.
- Thin Coats: Two or three light coats are better than one thick one.
- Don’t Rush: Let each coat dry completely before applying the next.
- Check from Different Angles: Natural light can reveal missed spots or drips.
If you’re painting multiple moulding types, like modern baseboards, Chair Rail, and backband trim, tackle them one at a time for a clean, consistent finish.
Can Contractors and Homeowners Paint Moulding Differently?
Painting moulding is a skill both contractors and homeowners can handle, but their approaches might differ.
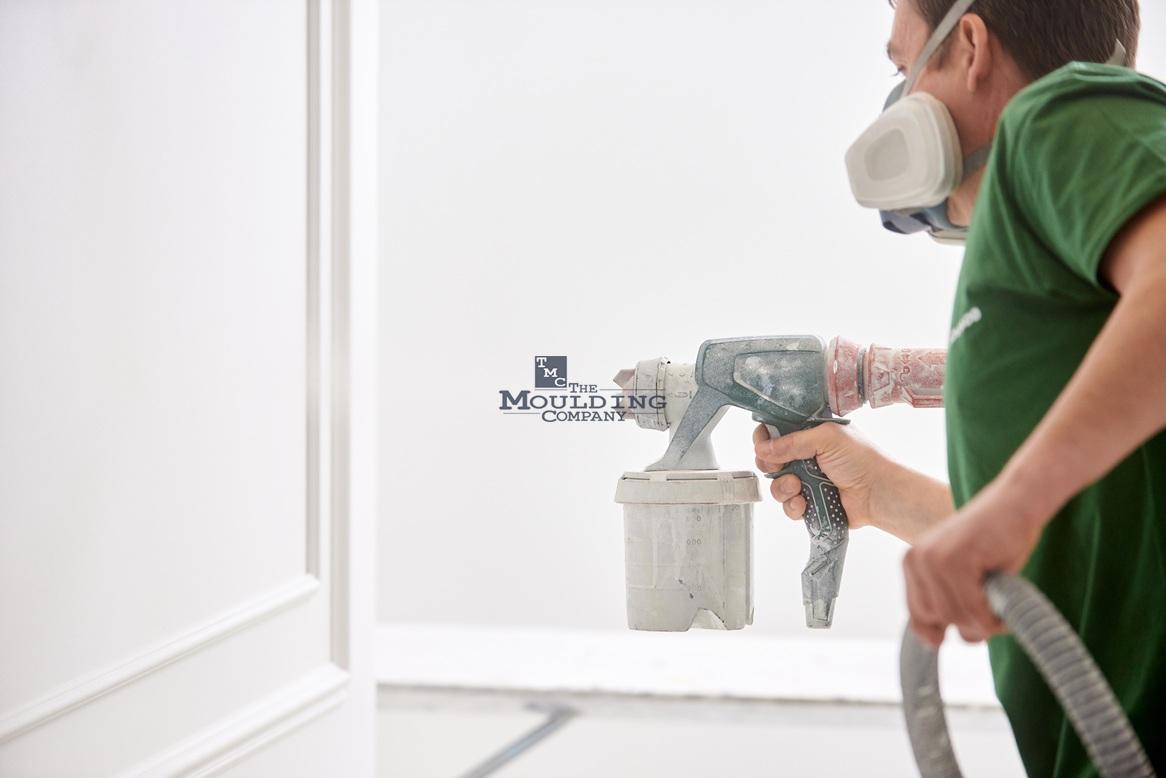
Professional contractors often use sprayers for a smooth, factory-grade finish. They work efficiently, applying primer and paint quickly across large areas with perfect consistency.
Homeowners, on the other hand, usually prefer brushes or small rollers for more control, especially around detailed moulding. If you’re a DIYer, patience and prep are your best tools.
If you’re not sure which route to take, think about your project scale. For one or two rooms, DIY is perfectly doable. For a full-home repaint, hiring a contractor can save time and guarantee a flawless result.
Painting Tips for Different Materials
Different types of moulding respond differently to paint. Here’s how to handle each:
- Wood: Sand lightly and use primer to prevent stain bleed-through.
- MDF: Always seal the edges before painting to stop moisture absorption.
- PVC: Clean with rubbing alcohol and use a paint formulated for plastics.
For MDF crown molding in particular, be sure to prime and paint all cut edges before installation if possible. This small step prevents swelling and warping later on.
How Often Should You Repaint Moulding?
Trim and moulding don’t need as frequent repainting as walls. Generally, every 5–7 years is ideal, depending on wear and exposure.
If your modern baseboards get scuffed from furniture or vacuums, touch-ups once a year can keep them looking pristine.
Kitchens and bathrooms may need more frequent attention since moisture and humidity can dull finishes over time.
The Finishing Touch: A Polished, Complete Look
When freshly painted moulding meets clean walls, it’s amazing how much it elevates your space. The lines look sharper, rooms feel brighter, and even older homes take on a refreshed energy.
Painting trim is one of those small projects that delivers big results something homeowners and contractors alike can appreciate.
If your home in Santa Clara, Sacramento, Concord, or South San Francisco is ready for a refresh, updating your trim might be all you need to transform the entire look and feel.
Final Thoughts
So, can you paint moulding? Absolutely, and you should!
From sleek modern baseboards to classic Chair Rails, from elegant MDF crown molding to detailed backband trim, a fresh coat of paint can redefine any room. It’s affordable, beginner-friendly, and surprisingly transformative.
Painting moulding brings together the best of design and practicality, protecting your trim while making your home look sharp and intentional. Freshly painted moulding is that final detail that makes any space feel complete and beautifully finished.
When you need premium moulding products, expert advice, or inspiration for your next project, The Moulding Company is here to help every step of the way.
Frequently Asked Questions
- What type of paint works best for moulding?
The best paint for moulding depends on the material and finish you want. Latex or acrylic paints with a semi-gloss or satin finish are ideal because they’re durable, easy to clean, and highlight detail beautifully. If you’re painting MDF crown molding or wood trim, always use a primer first to seal the surface and prevent moisture damage. - Can I paint over stained or varnished moulding?
Yes, you can. Just make sure to sand the surface lightly to remove the glossy layer and apply a quality primer before painting. This helps the paint adhere properly and ensures a smooth finish. This process works great for older Chair Rail mouldings or detailed backband trim that need a quick refresh.
- How do I get smooth results when painting moulding?
Preparation makes all the difference. Clean your moulding thoroughly, fill nail holes or cracks, and sand lightly before priming. Apply multiple thin coats of paint with a high-quality brush or small foam roller for the best coverage. This method works beautifully on modern baseboards and detailed profiles alike. - Should homeowners or contractors handle painting moulding?
Both can depend on the project size and skill level. Homeowners can easily paint smaller areas like bedrooms or living spaces with a few basic tools. For larger projects, professional contractors often use sprayers and specialty finishes for that perfect, factory-grade look. Either way, proper prep and patience are key to long-lasting results. - Can moulding styles like California corners or modern baseboards be painted too?
Absolutely. Whether you’re working with a California corner, modern baseboards, or layered moulding, painting adds polish and consistency. Just make sure to use painter’s tape for clean lines and take your time around detailed edges. A few coats of paint can completely transform the look of your trim, tying your entire room together.